'How I Rebuilt my Home with a Credit Union Loan.'
House
3
min read
06 Nov 2020
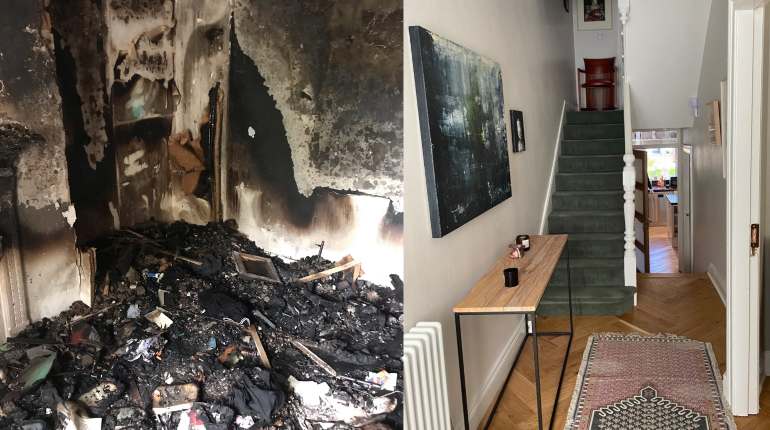
Dermot Mulligan tells us how he rebuilt his fire-damaged home - with a little help from his local credit union.
The walls of the Mulligan home were streaked with ash and water, paint warped and peeled away, the windows blackened with soot: an eerie, nightmarish version of the place they once lived. Although it took less than 15 minutes for the house to go up in flames, it was nearly a full year before it was rebuilt from a shell.
From finance and insurance to tradesmen, insulation, floors, plastering and décor, Dermot Mulligan tells us how he managed the rebuild, piece by piece. The below advice can also be helpful to anyone planning an extensive home renovation.
Although the insurance covered what was lost in the fire, any extras the Mulligan’s wanted, like insulation, would have to be paid for themselves – and they decided to take the opportunity to complete work they’d always planned to, like making their home warmer. They contacted their local credit union for a low cost home improvement loan to the value of €50,000, to make up the difference.
Steps to Rebuild, after the Fire
1. Getting a Loss Adjuster
‘We had a friend who advised us to get a loss adjuster,' said Dermot. 'This meant he would deal with the insurers in all matters. He understood how to negotiate in their language, what we would and would not be able to claim for – he guided us every step of the way, so we would have been lost without him. He adds on a fee which the Insurance helps to cover.’
The family then made a list clothes, furniture possessions in detail and put a value on them.
2. Insurance and Rebuild Quote
‘Depreciation on most things meant we would not get the full amount but when you experience something like this, you realise how much junk you actually had and do not need in your life.'
'This meant we could spend the money on more important things than replacing everything as it was. Then the builder gives his quotes and the insurers have to agree on how much they will pay.’
3. Stripping/Clearing the House and Fumigation
‘After ozoning, (fumigating the house of smoke with strong chemicals, which took weeks) the clearing out of rubbish began with big skips filled with plaster, timber and ashes. This stripping out took another couple of months. Once that was done the rebuilding could start.’
Home Renovation Steps
1. Setting a Budget
‘The insurance only paid for what needed to be replaced. Since we had a more or less 'blank canvas' we added things to it since the house was a shell. Insulation being the biggest cost out of things we paid for ourselves, but well worth it.’
2. Hiring an Architect
‘We talked to an architect who advised us on flooring, insulation etc. and all other things relating to the rebuilding so we had a place to start - we knew where to look for materials and had a direction to go in.’
3. Securing Finance
‘We estimated the additional work we wanted to get done, which was not covered by the insurance, would be €50,000. We contacted our local credit union who approved the loan, and we received the funds we needed quickly and with no trouble.’
4. Hiring/Briefing the Builder
‘Our loss adjuster had already found us a builder at the start who specialised in fire rebuilding. Since they already had a good relationship we were all connected. If things went wrong the Loss adjuster stepped in to help us negotiate a way forward. It was important for us to go with someone who was recommended, and we had a connection with.’
5. Starting the Work
‘We selected what we wanted and the major work started on the floors, windows, walls/plastering, insulation, wiring, two new bathrooms, a new garden - then extras like a new security system, radiators, new furniture and appliances. The insurance paid for most of the appliances and furniture as they were smoke damaged. The whole process took 10 months to complete and we moved back in to what felt like a brand new house.’
These are the main things we focused on:
5. Look and Feel
‘As our house is a period home, we wanted a style that could be modern and also keep some of the original features.’
6. Increase Energy Efficiency
‘Inserting new floors, windows, attic and wall insulation meant we had a much warmer home.’
7. Raised Timber Floors
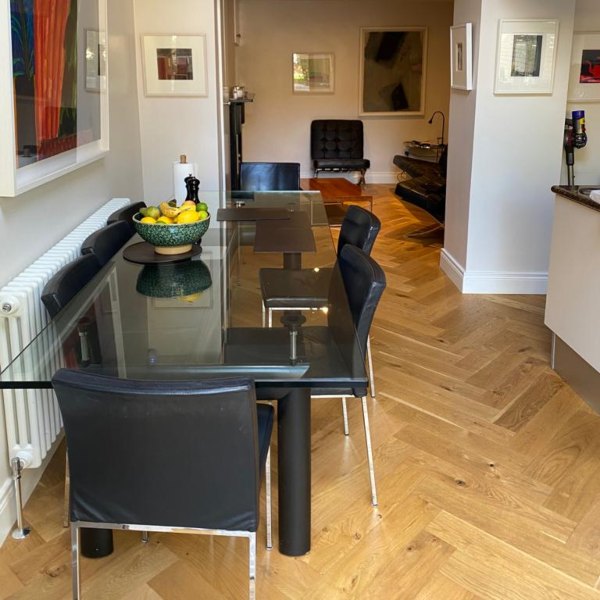
‘We replaced all the old pine floors with engineered herringbone, and this greatly improved the warmth of the house, as the old floorboards had large gaps which heat escaped from.’
8. Lighting System
‘Our recommendation from our architect was to get LED fittings that could be dimmed, and to spend money on the fitting, nice switches, and not the lighting system itself, to save some budget.’
9. Bathroom
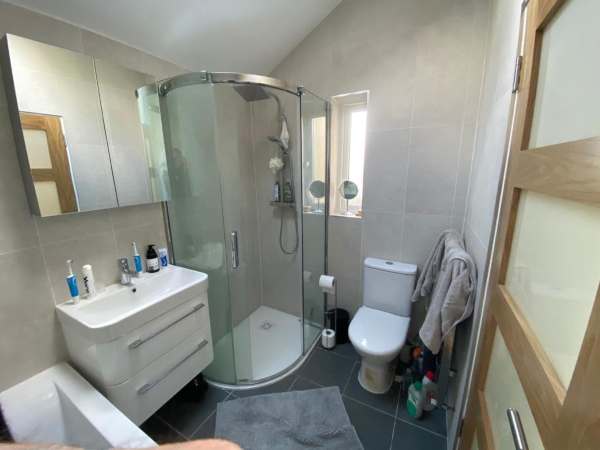
‘We fitted both a bath and a shower into our bathroom, and inserted heated towel radiators. We also tanked the main bathroom.’
10. Bedroom
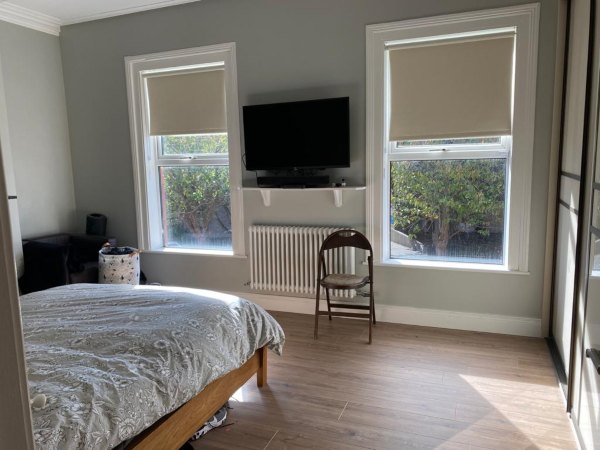
‘In addition to new floors, we inserted new presses/wardrobes, which weren’t bespoke, but fitted by a professional.’
11. Garden
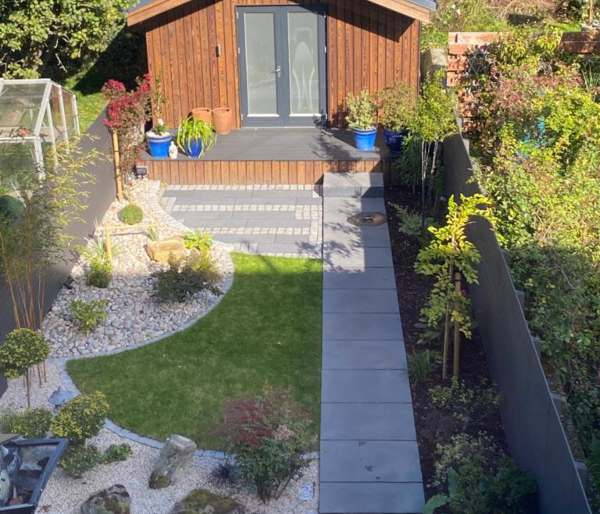
‘We went for a Japanese style garden with medium maintenance.’
If you’re thinking of a self-build, renovation project or thinking of improving your home, why not get in touch with your local credit union today about a home improvement loan?